> ## Documentation Index
> Fetch the complete documentation index at: https://docs.nex.art/llms.txt
> Use this file to discover all available pages before exploring further.
# Assets
> The gateway to controlling your generations.
NEX comes built with Asset storage. In this section, we will go over how to upload your own assets and begin your controllable image generation journey.
Upload **images** that are as **high res** as possible and have the least amount of blurriness.
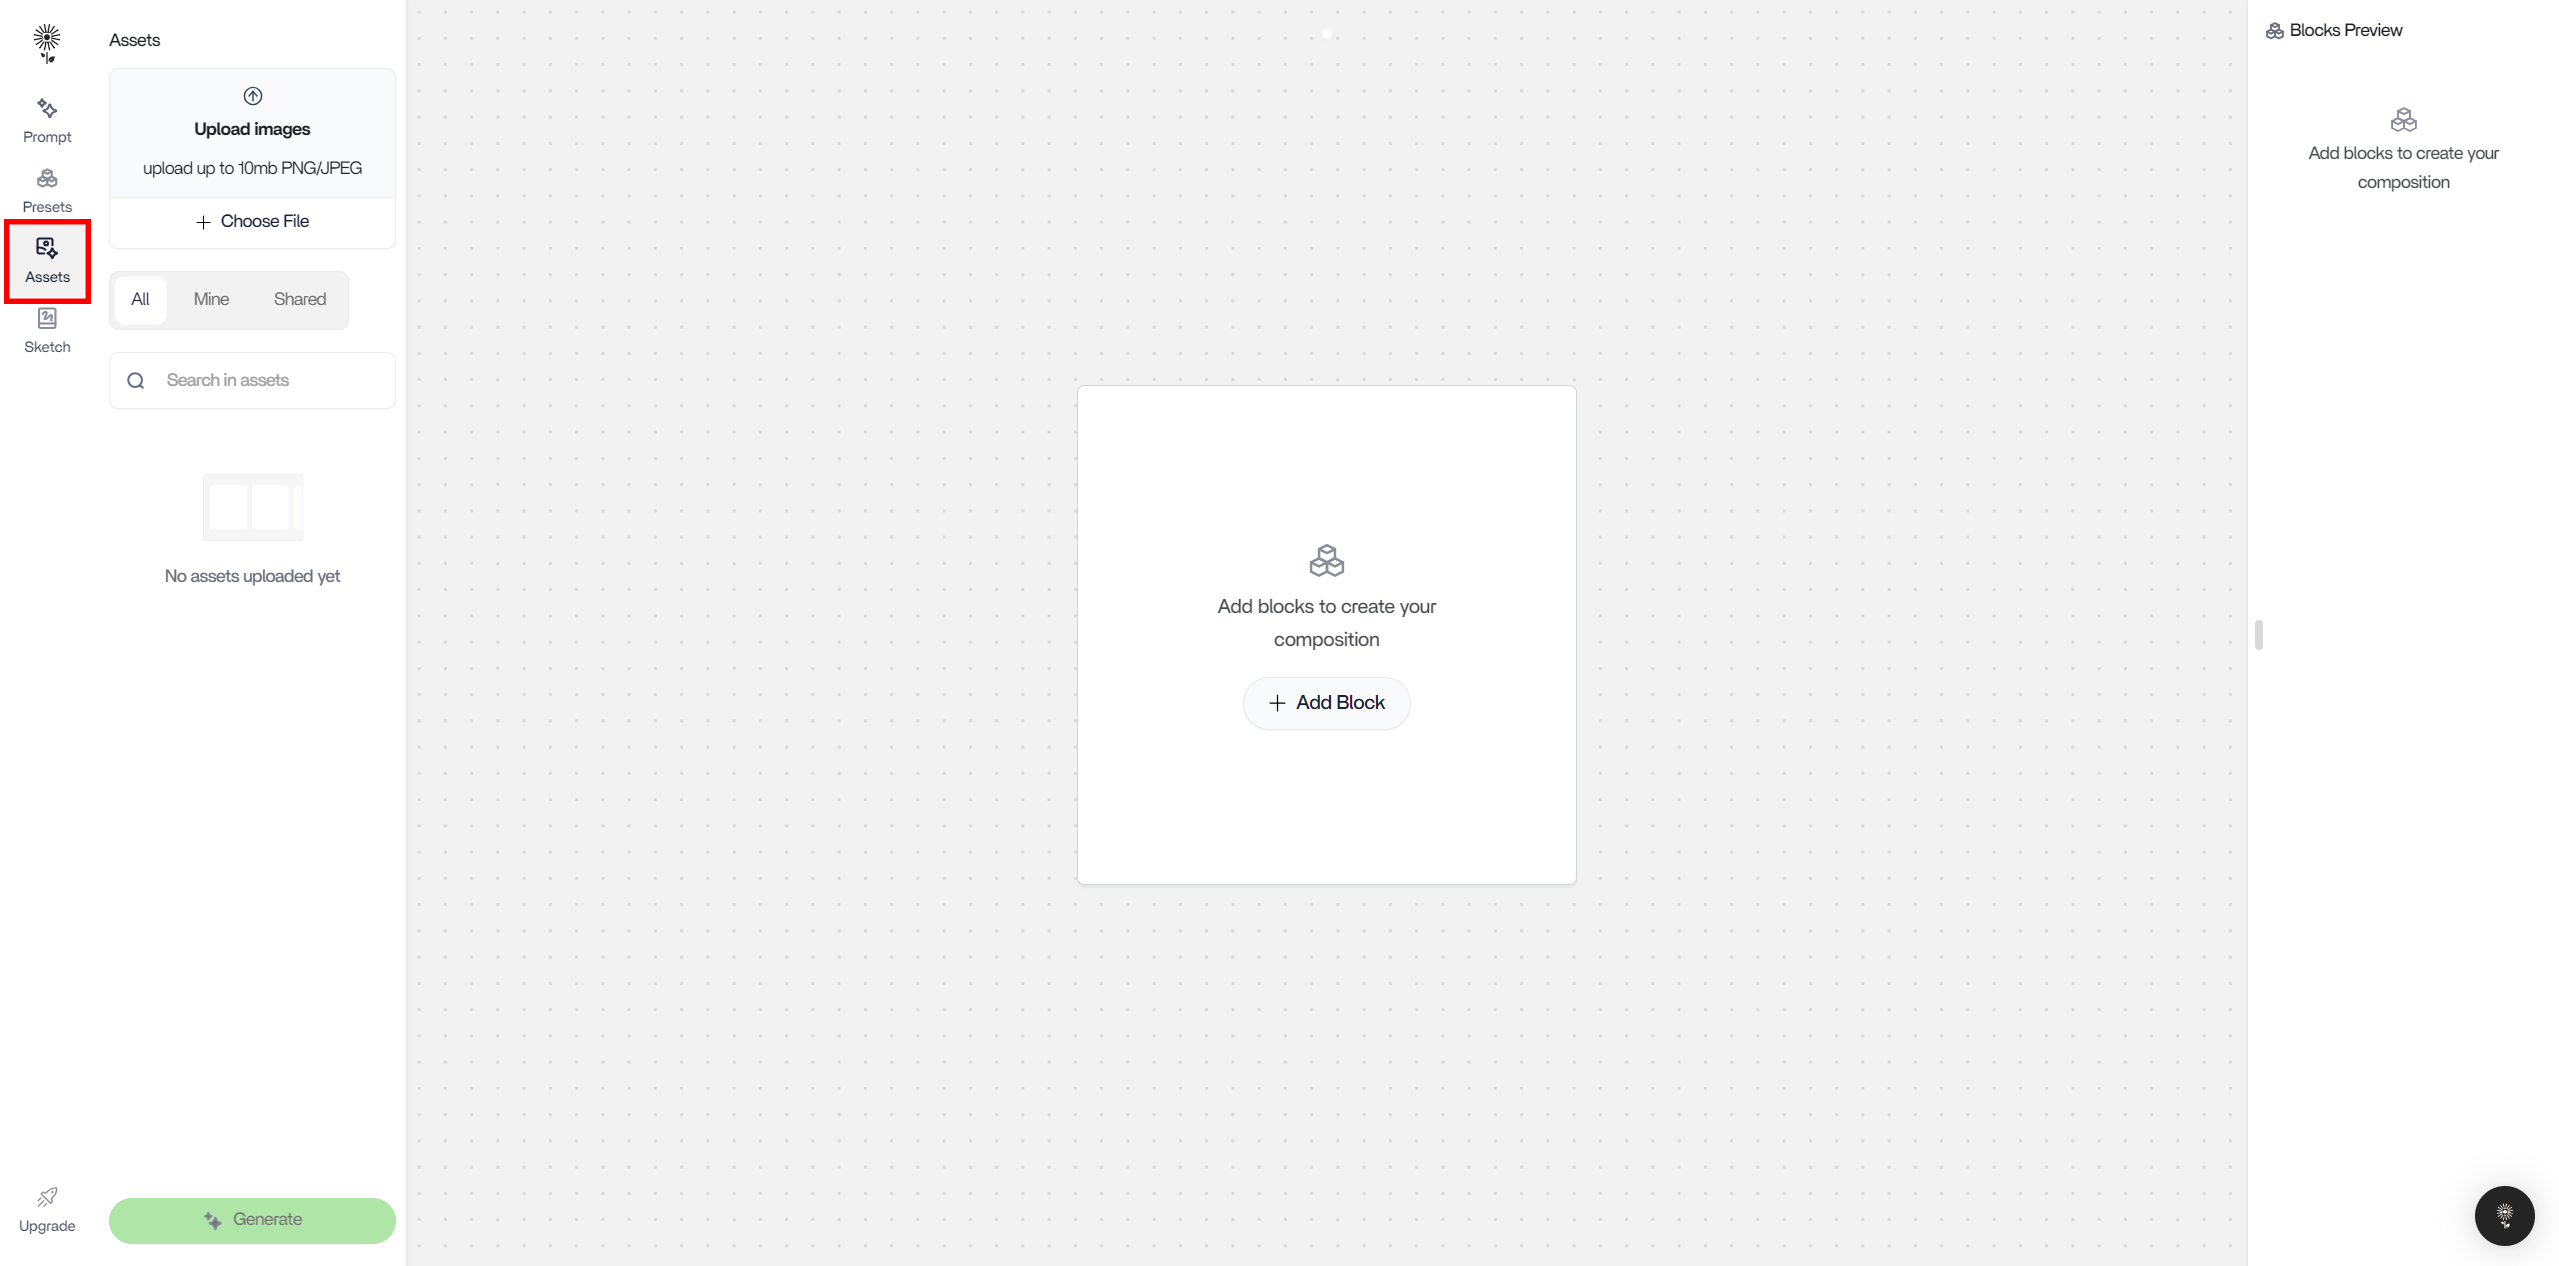
#### 1. In the Artboard, click on “Assets” in the left action bar
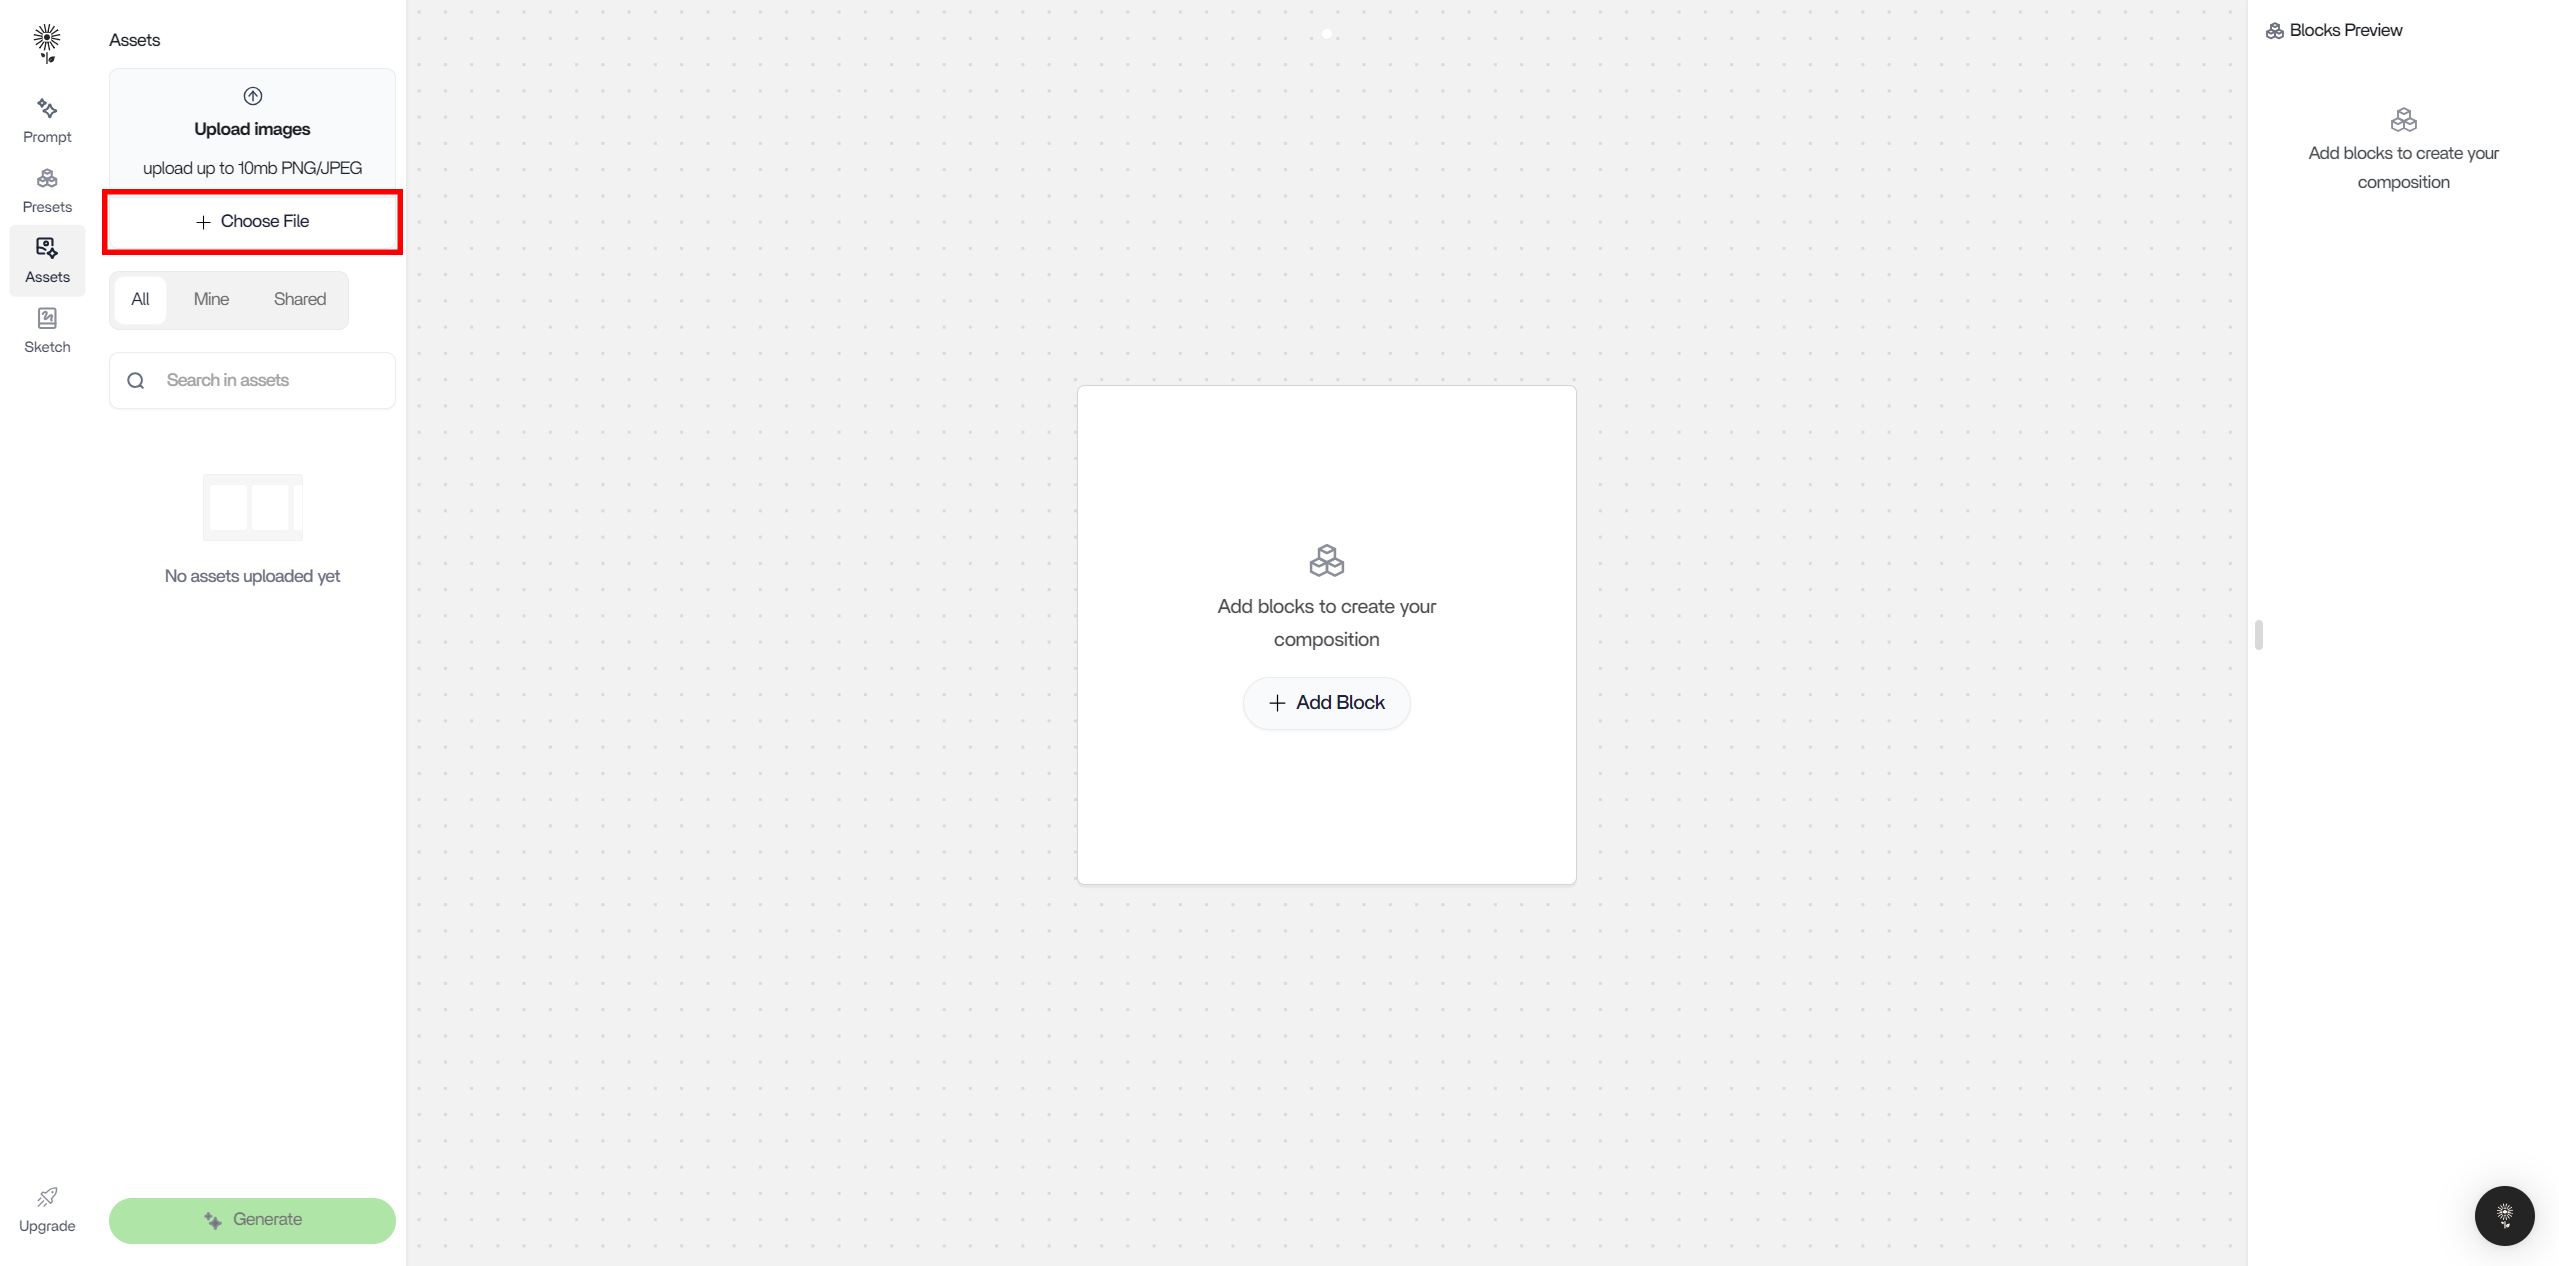
 #### 2. Click on “Choose File” to open up a window for your asset selection.
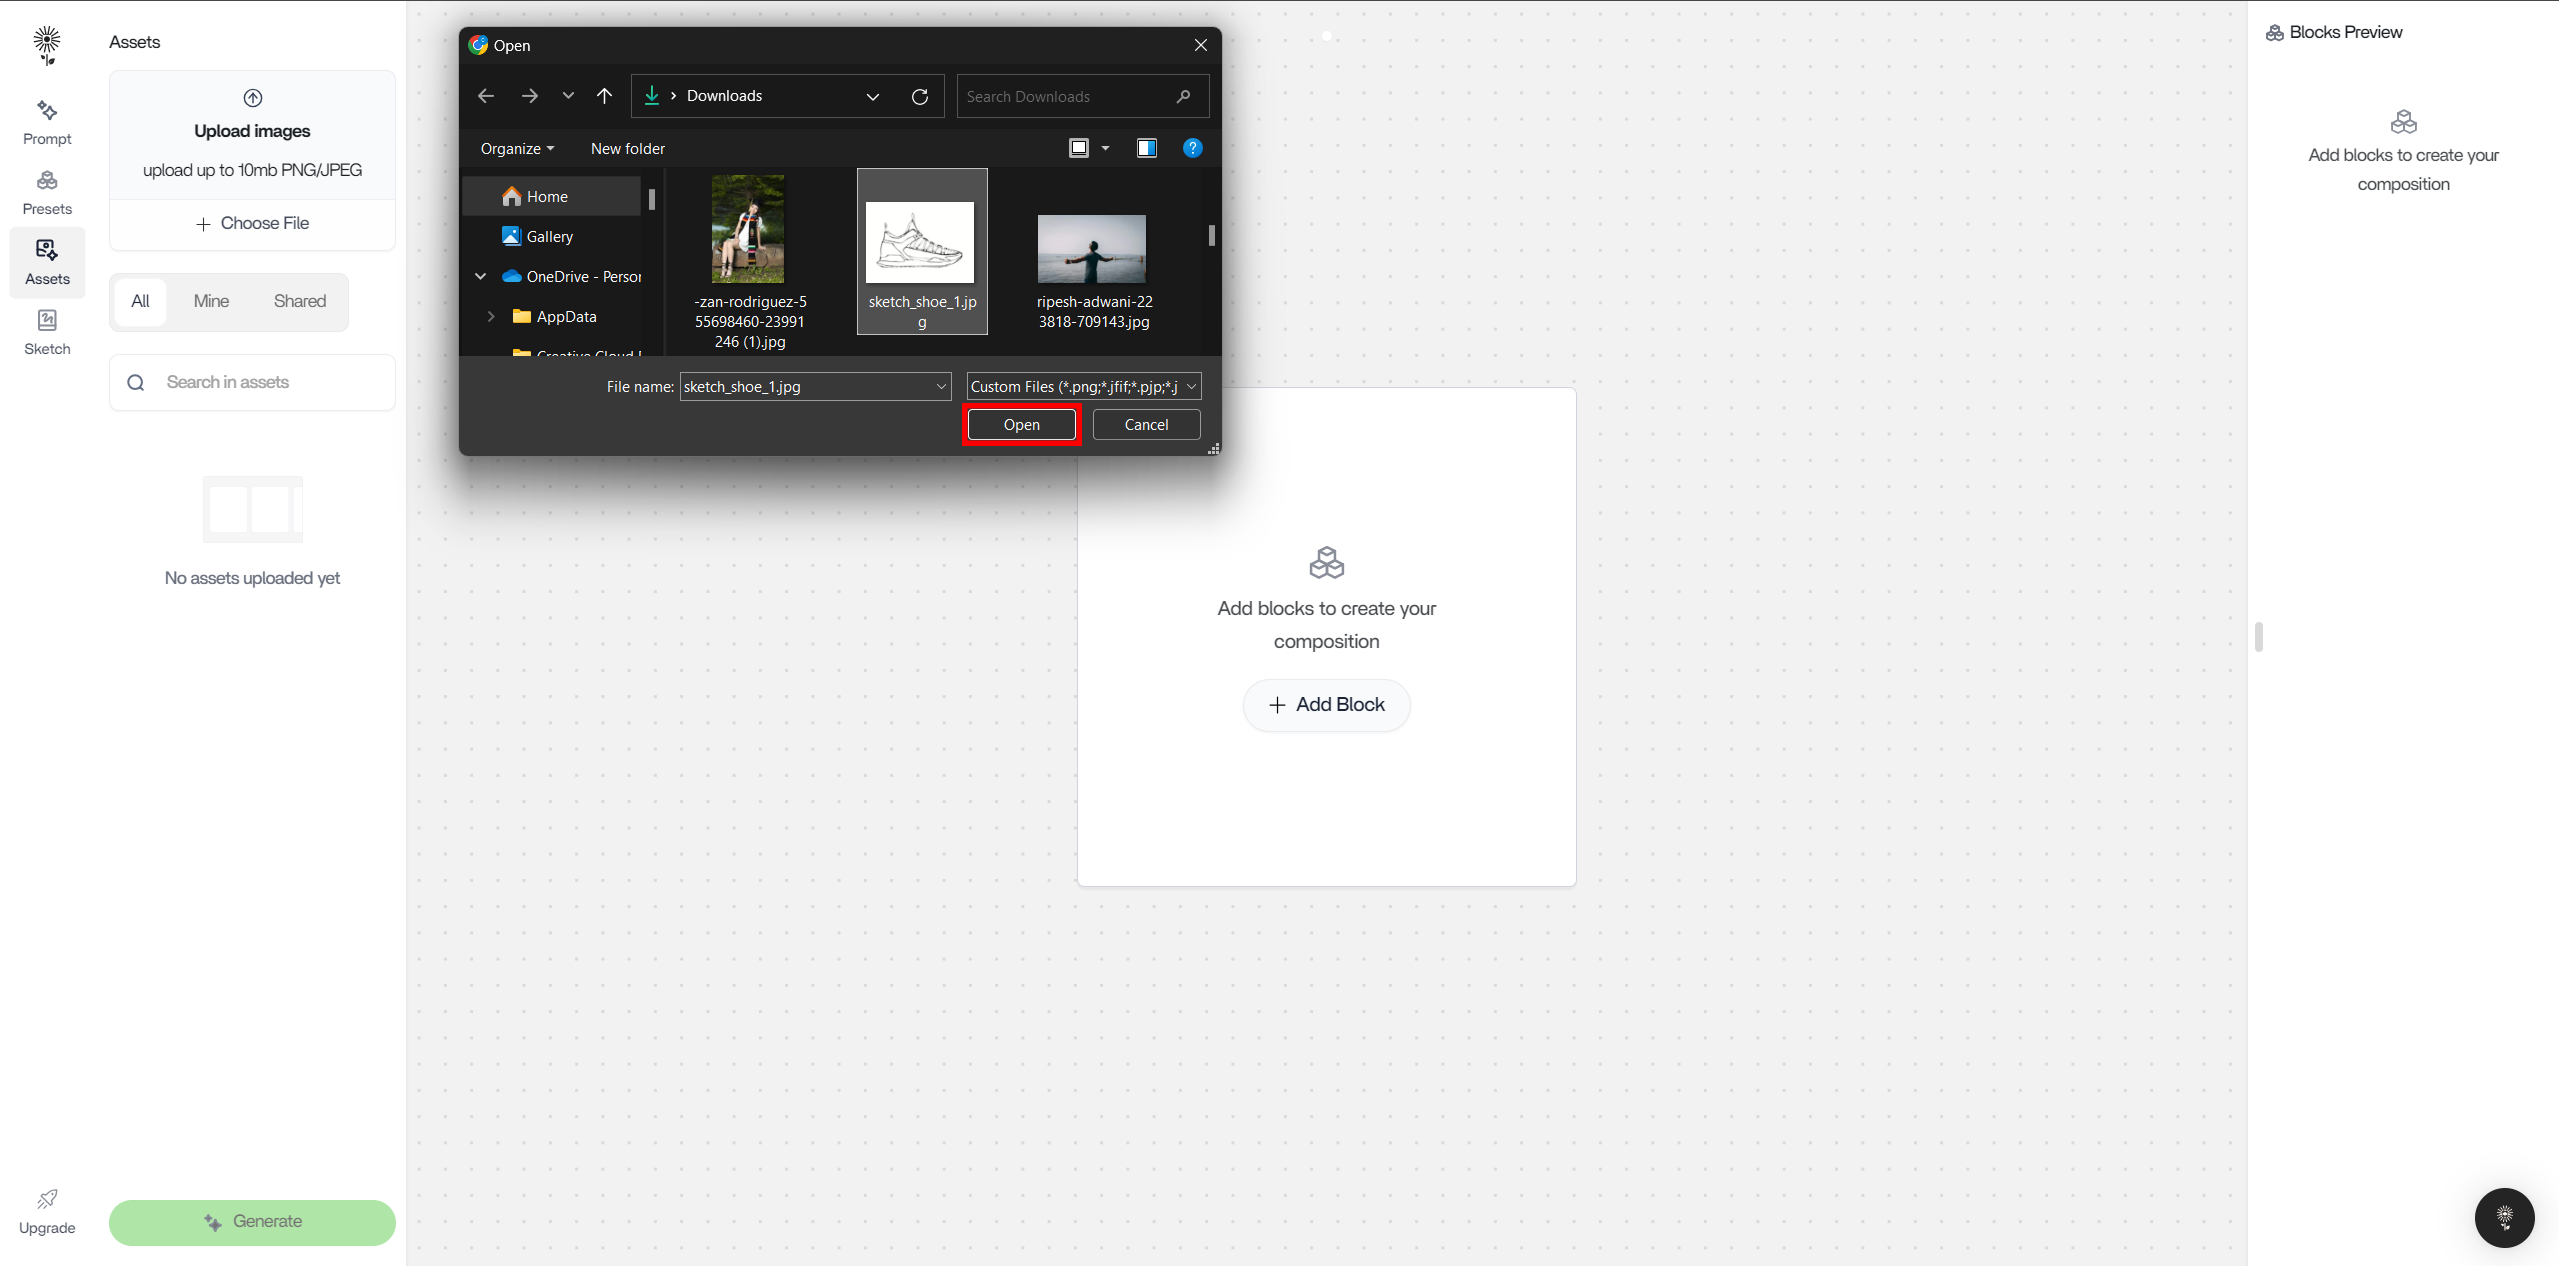
 #### 3. After selecting the image that you want to upload, click on “Open” or press “Enter” on your keyboard.
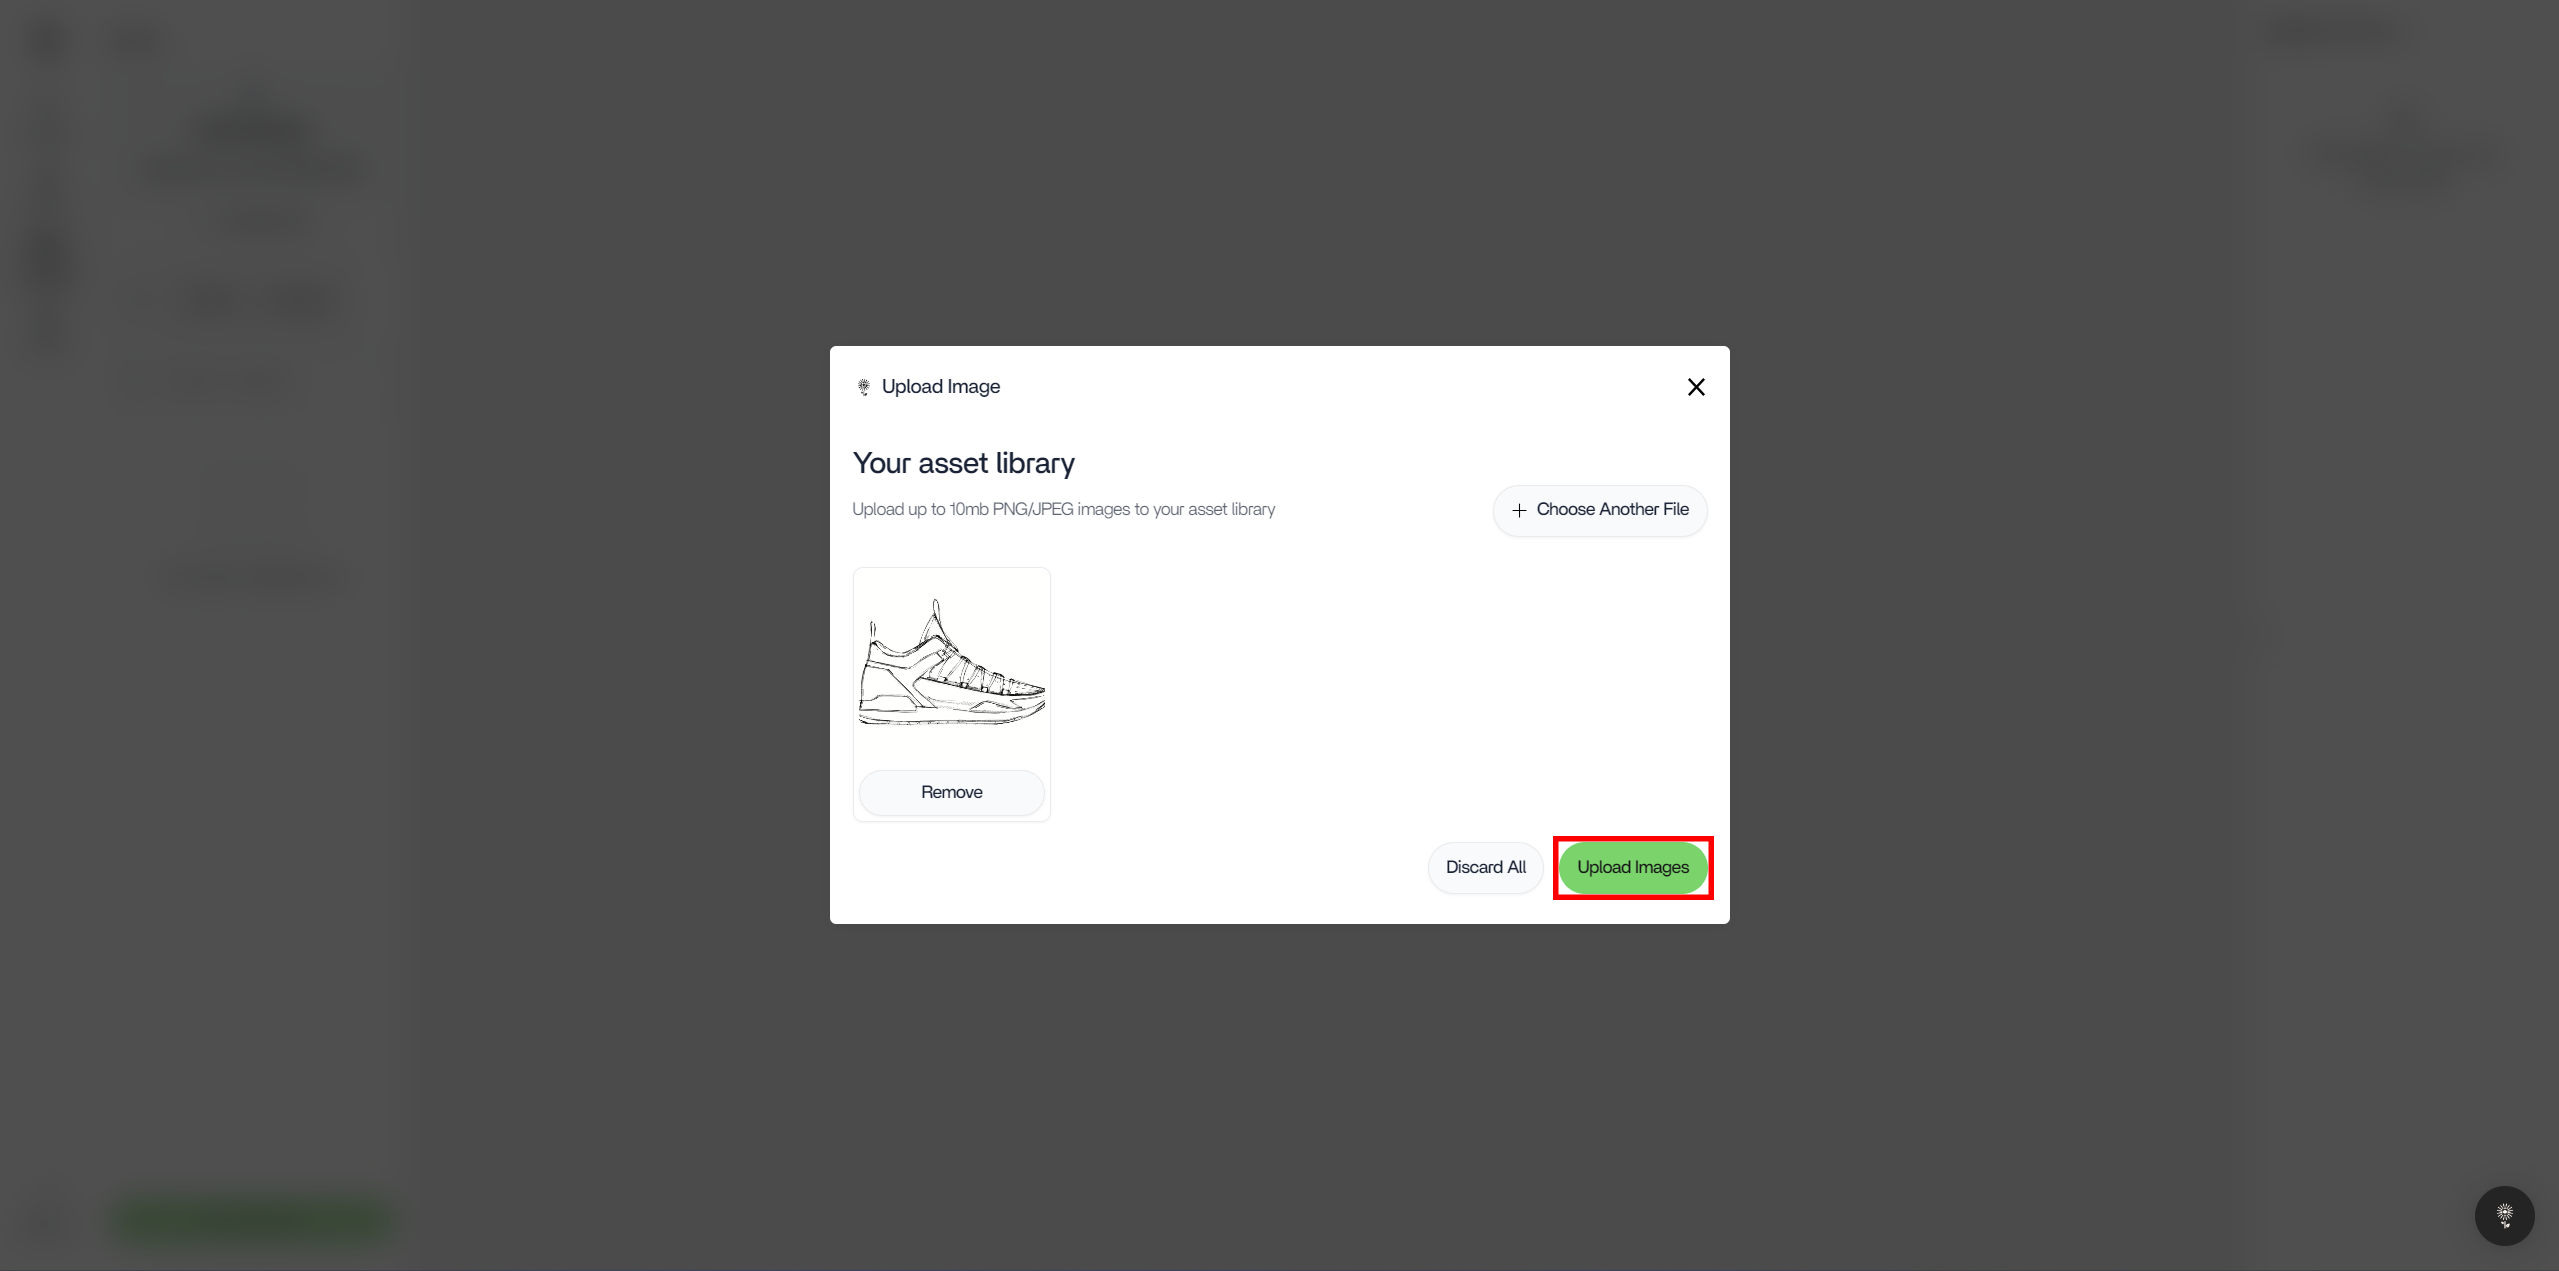
 #### 4. You will then be presented with the asset upload modal. Here, you can complete the upload by clicking “Upload Image”. If you’ve changed your mind, click on “Discard All”.
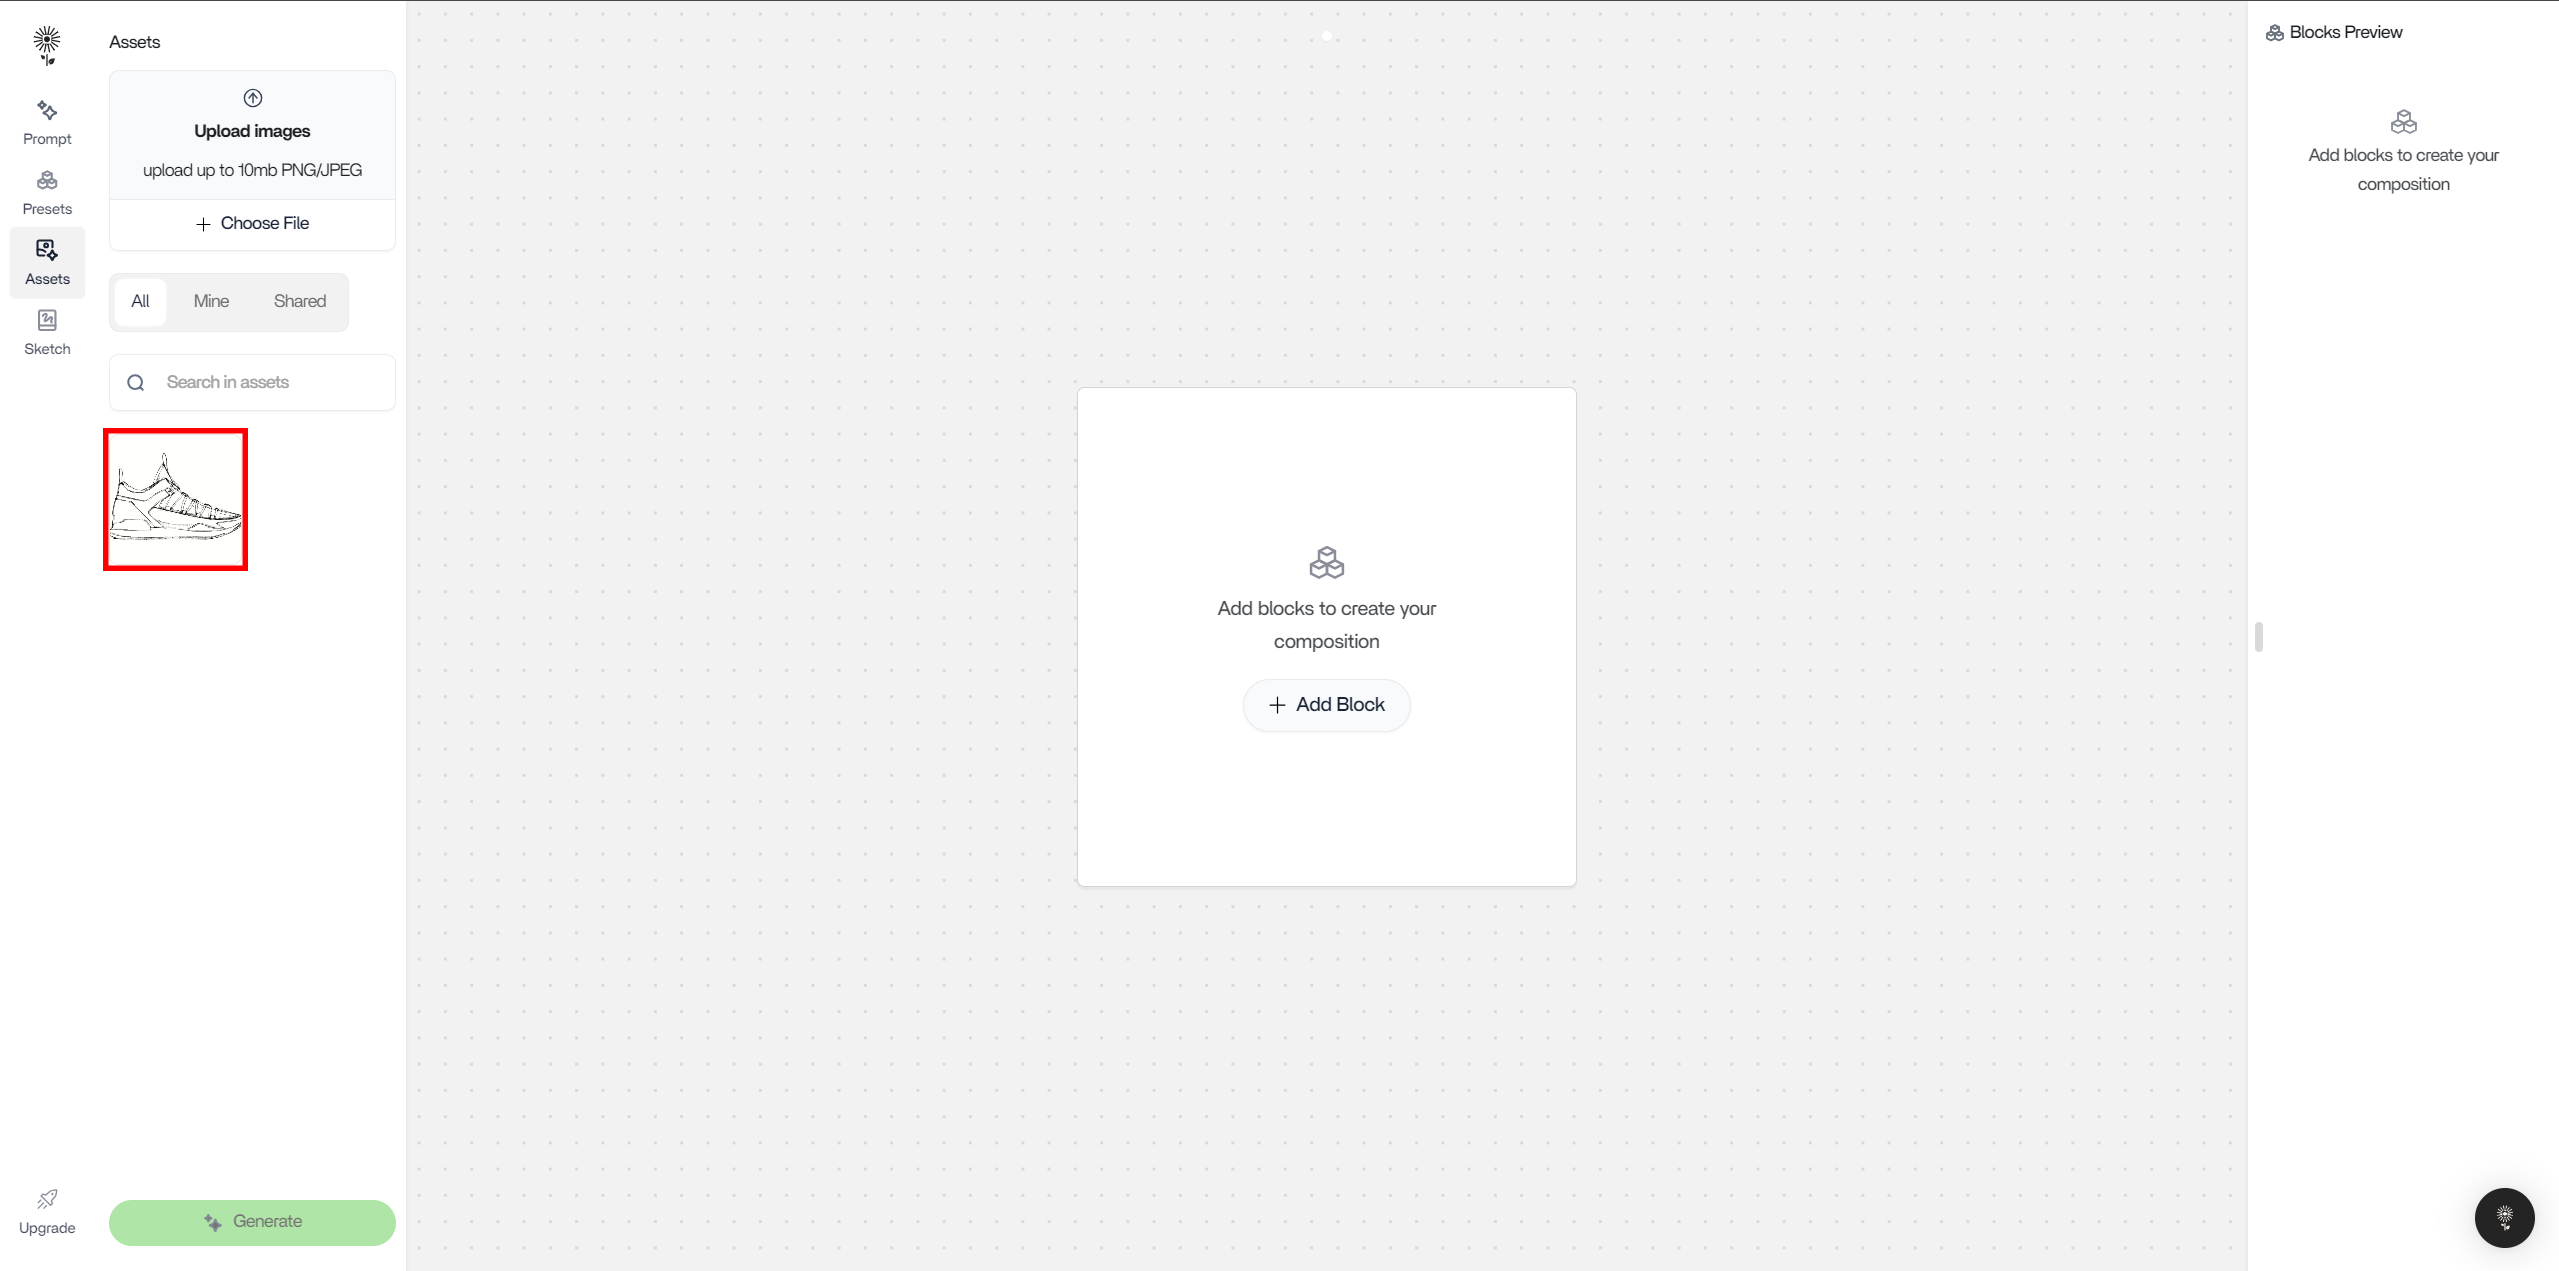
 #### 5. After successfully uploading your image, you can view it under the Assets Search Bar.
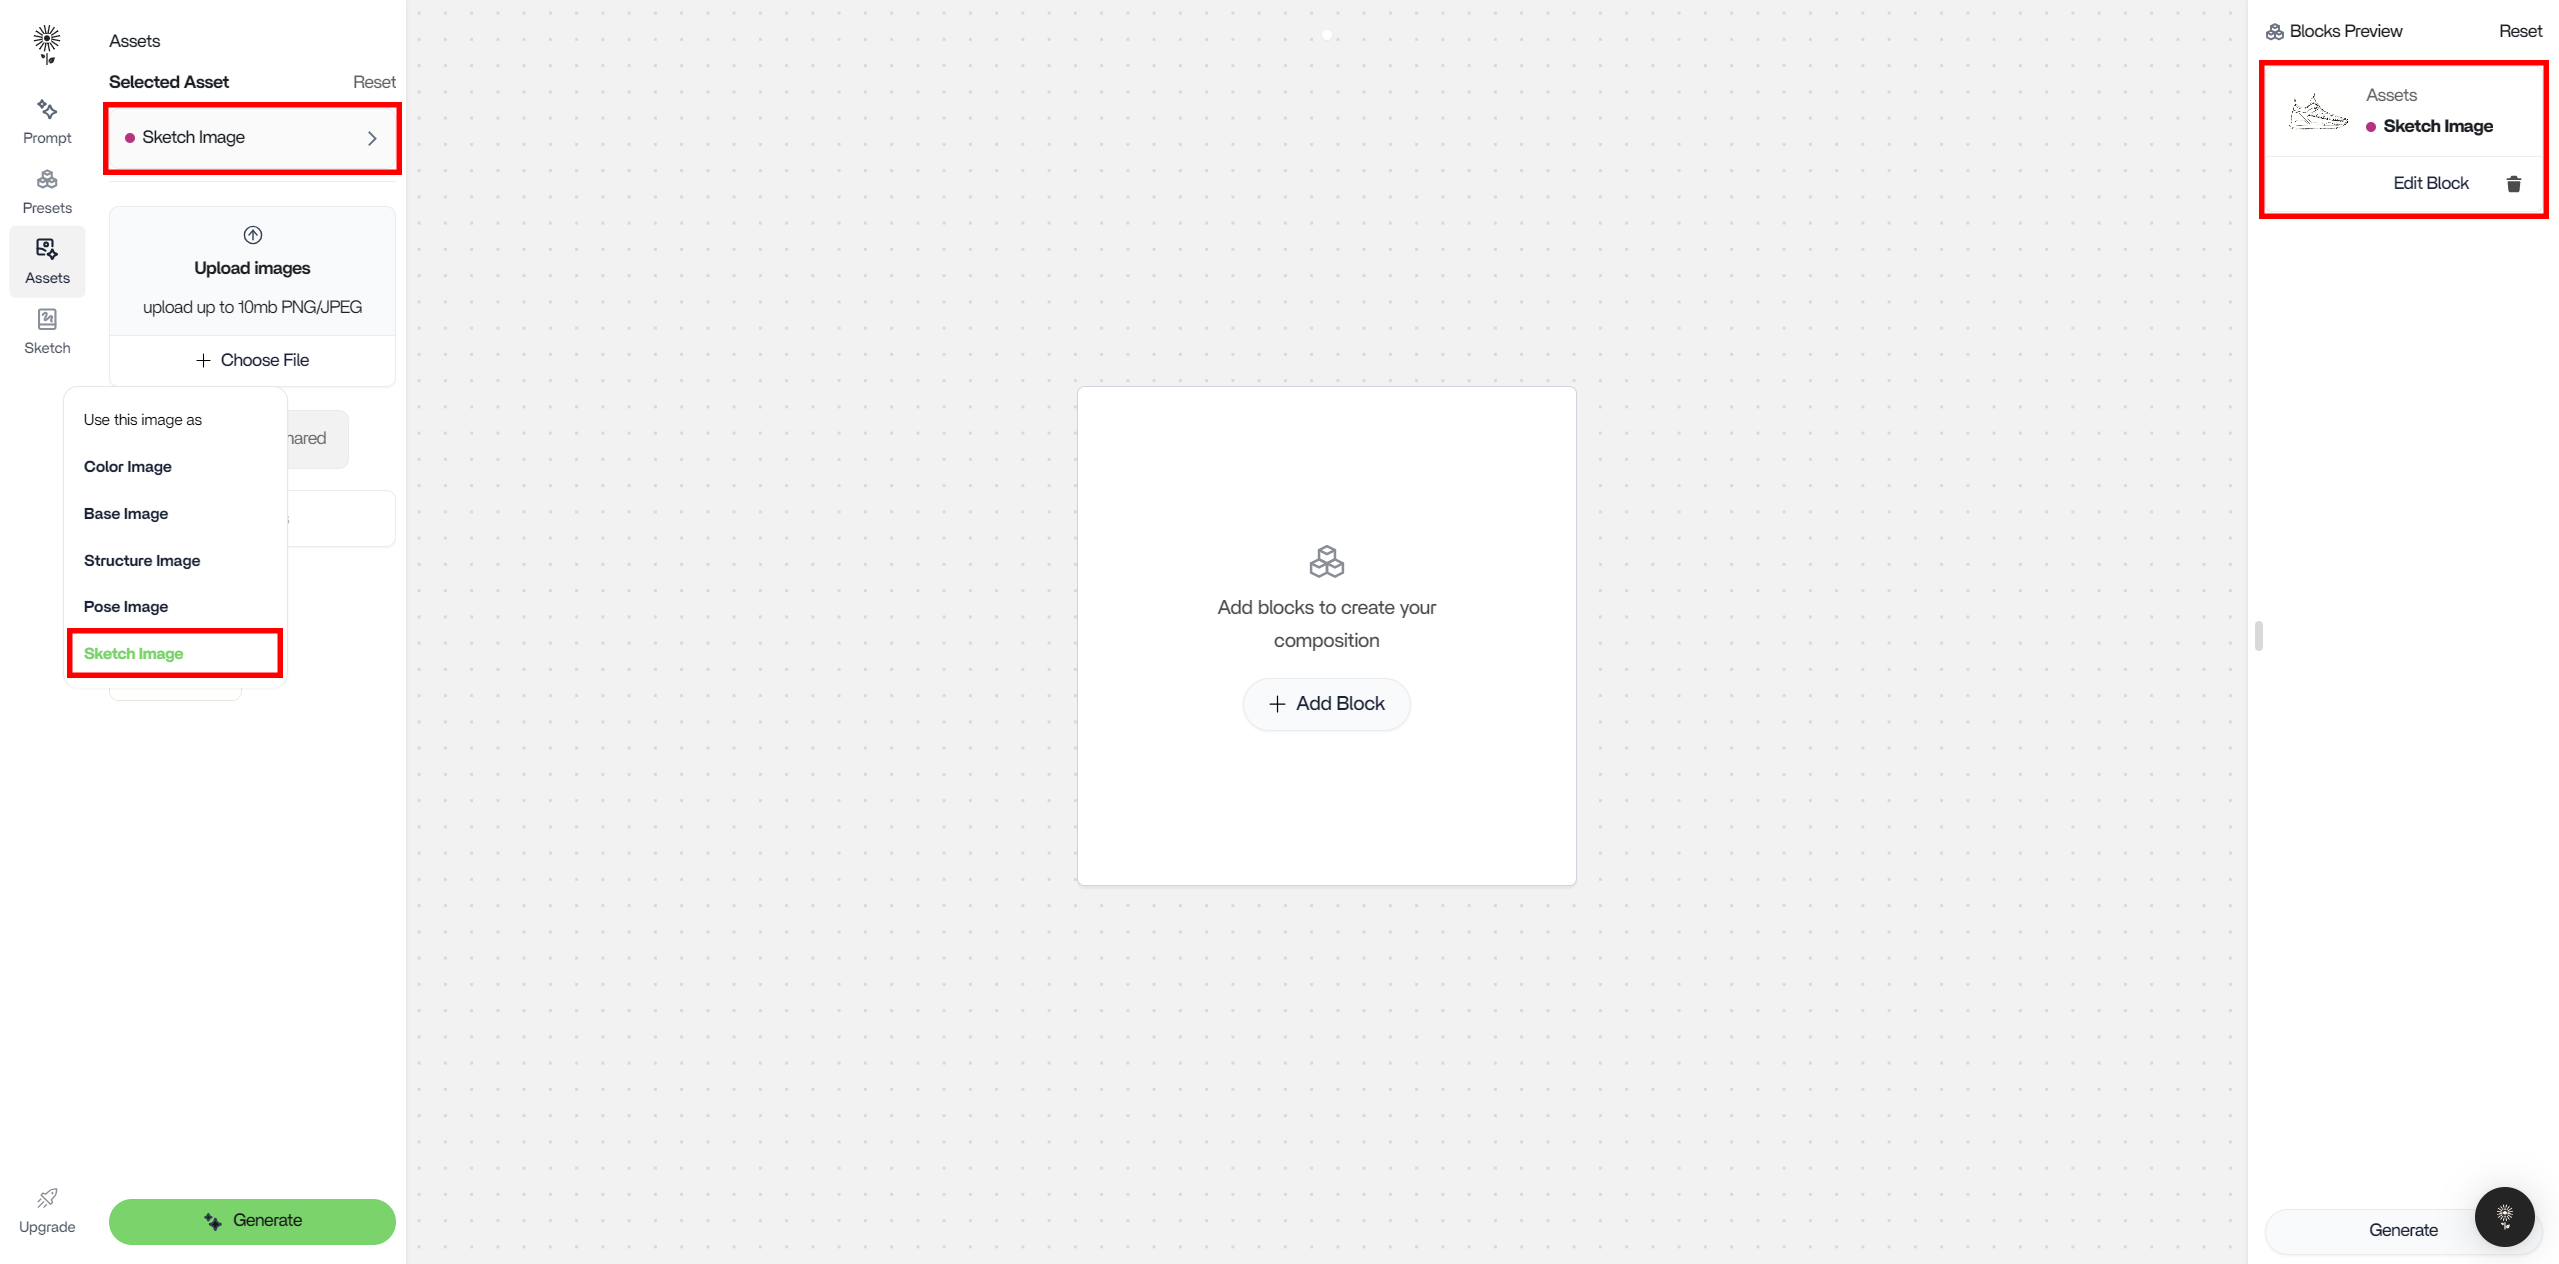
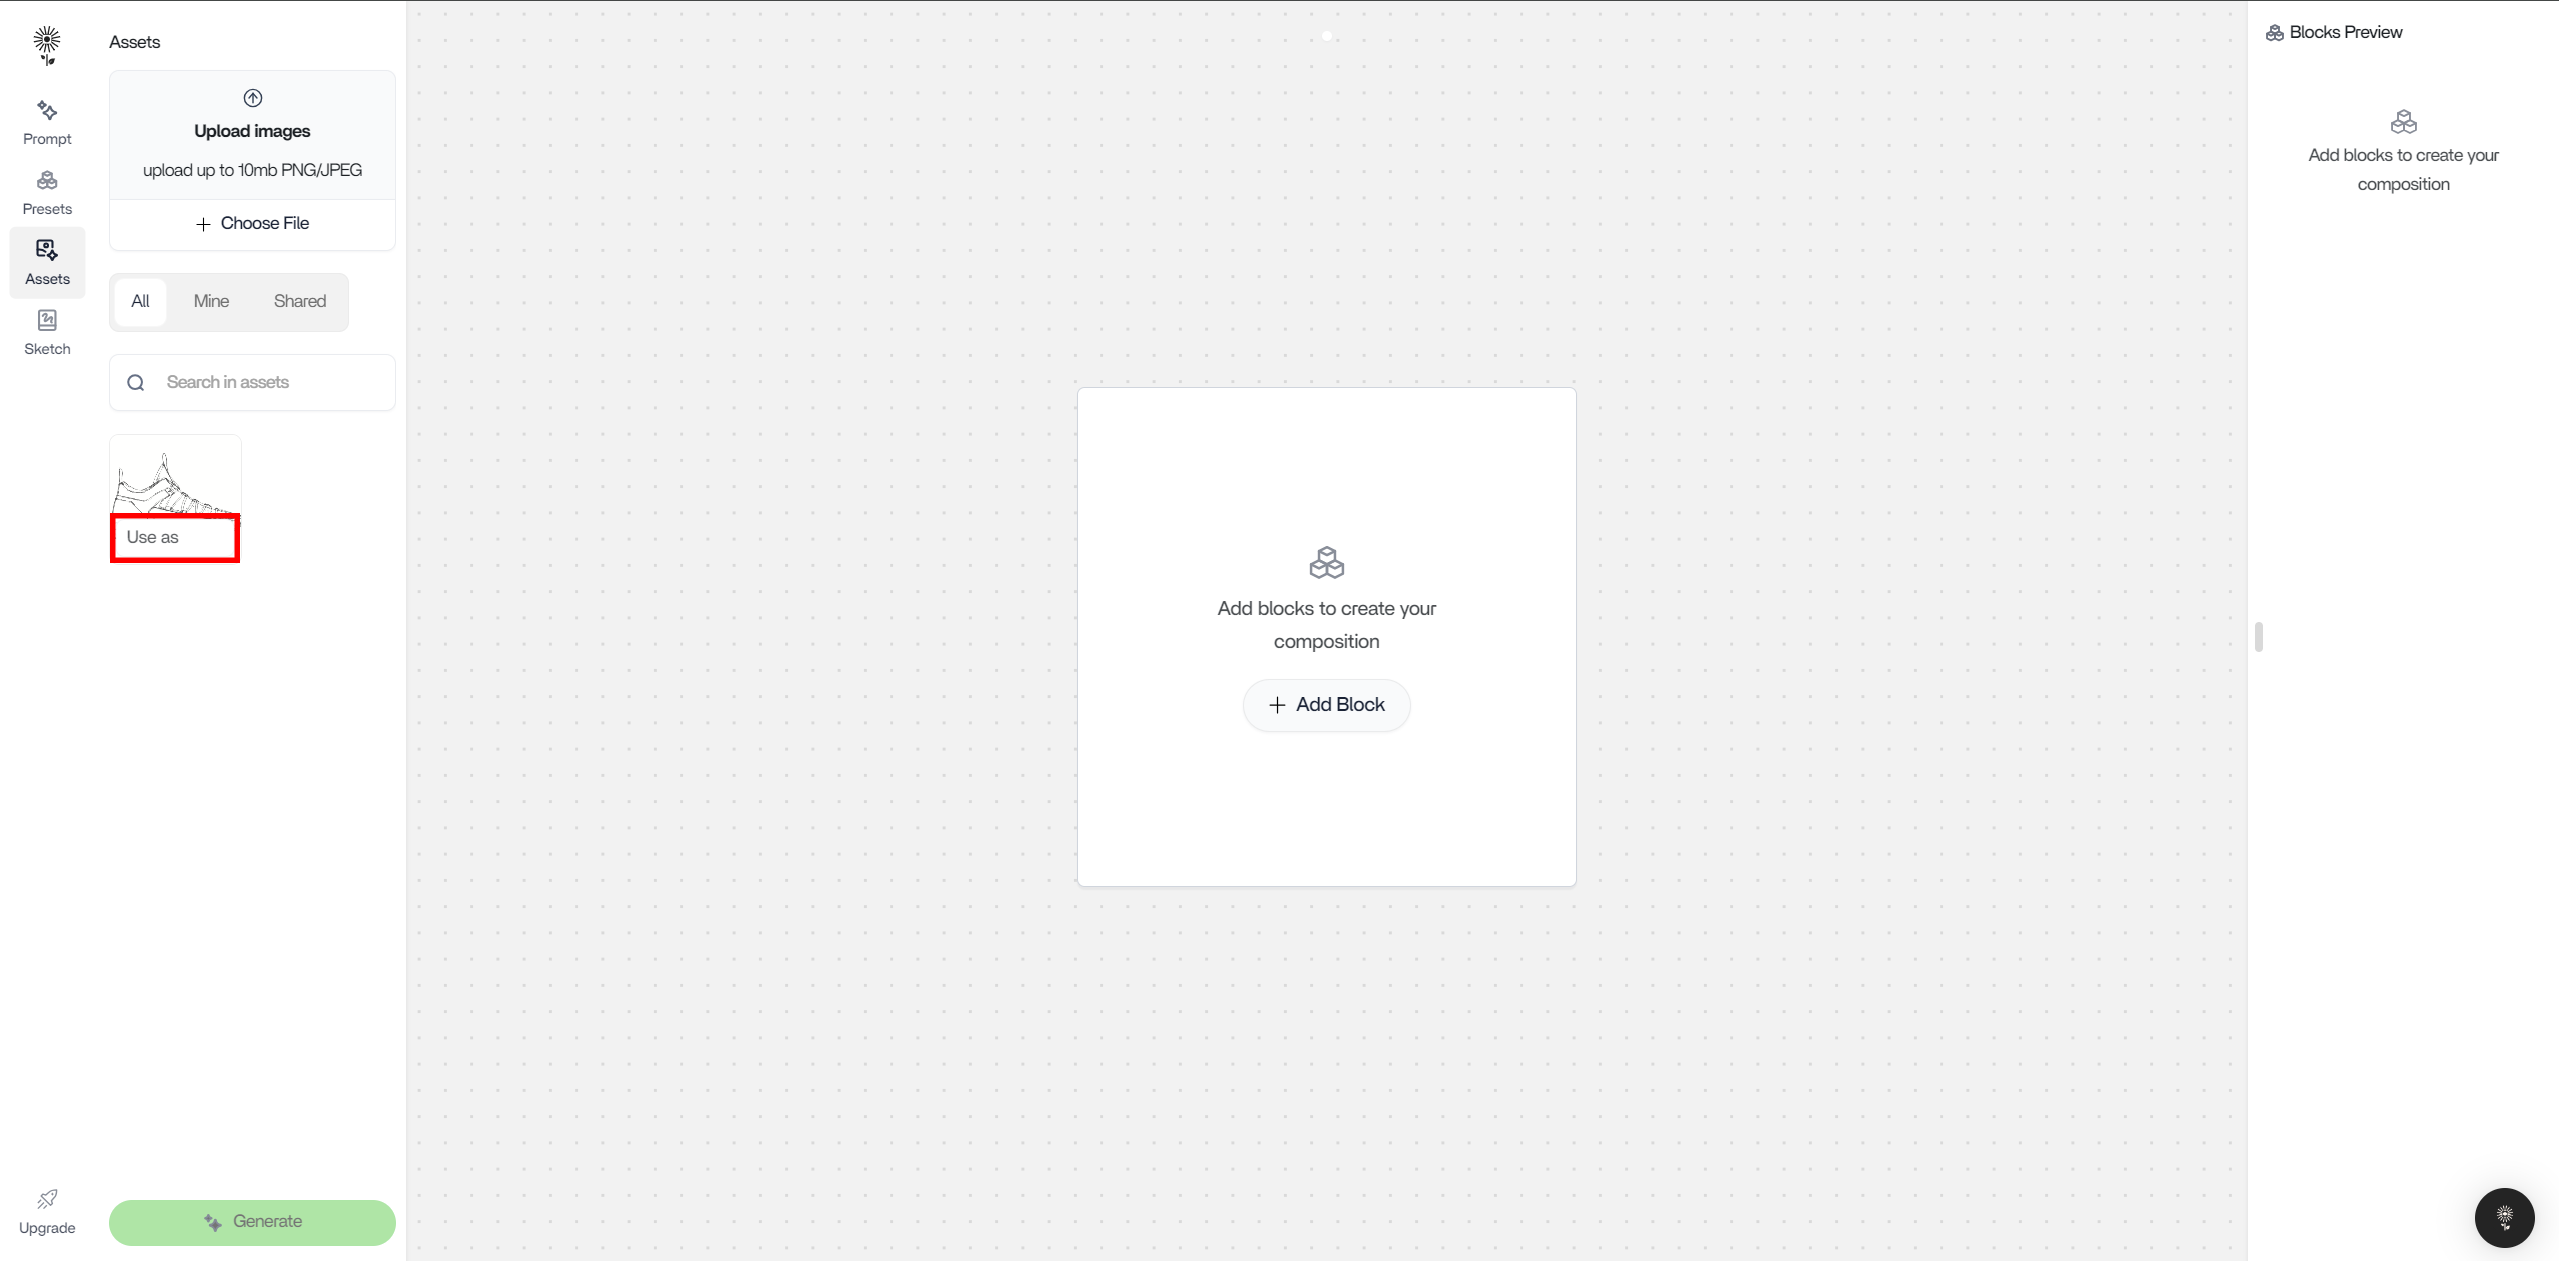
 #### 6. Now, you can begin using your asset as a control. If you hover over your asset and and click “Use As”, you’ll be able to see the control options for your asset.
 #### 7. Lastly, select the control that you want your asset to be, and it will be added to your Blocks Preview as well as denoted above the Upload Images section.